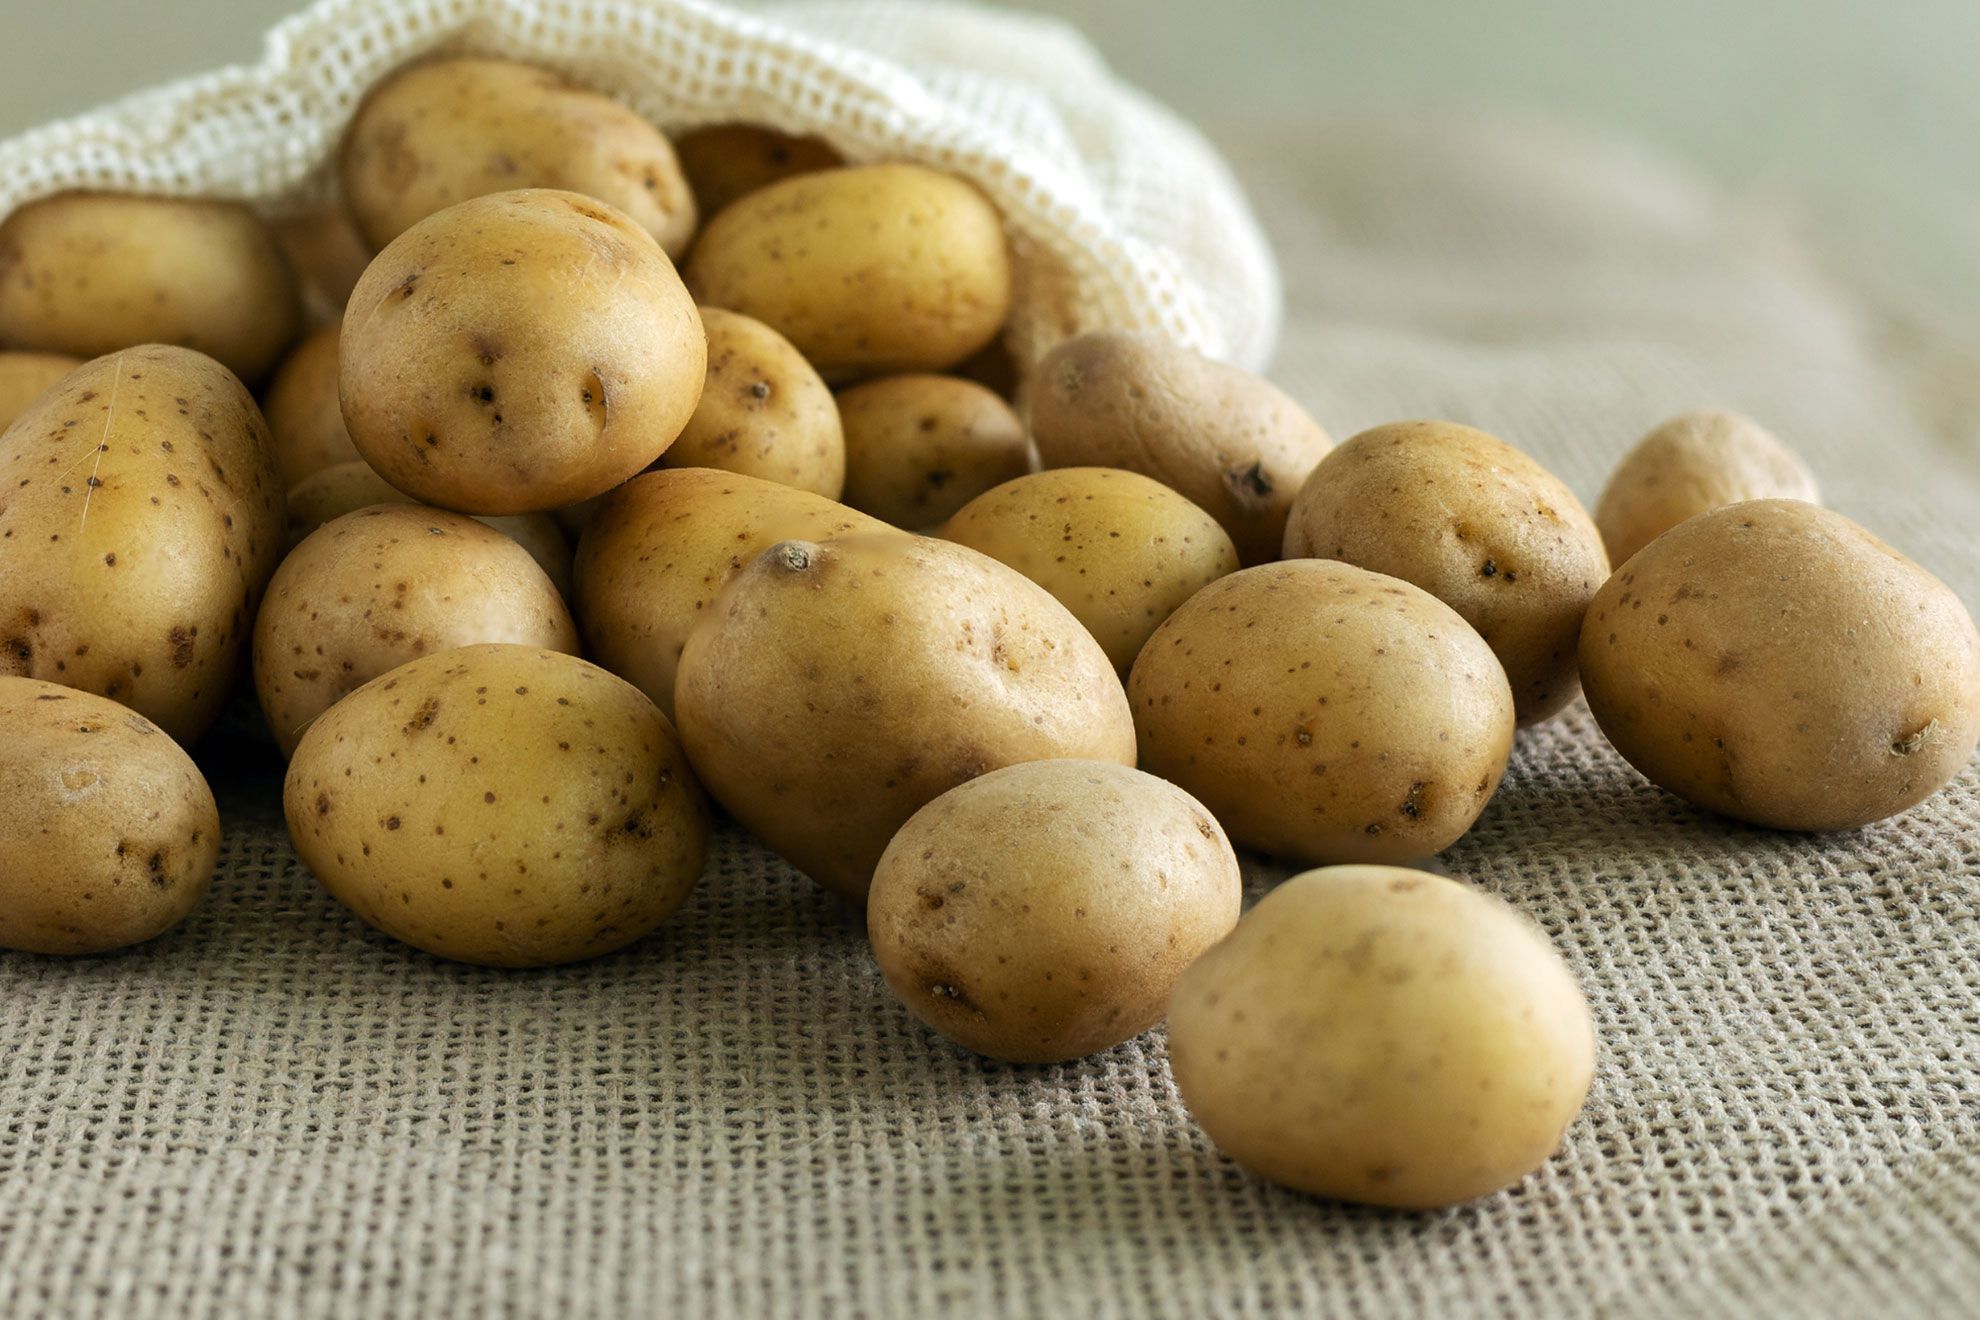
It can be difficult to maintain the flavor and freshness of potatoes, especially if you have an abundance of this versatile veggie. The freezing of potatoes is an easy way to prolong their shelf life while maintaining the nutritional value and flavor. Incorrect freezing techniques may result in texture degradation or flavor loss. This comprehensive guide will take you through the process of freezing potatoes step by step to maintain their quality.
Understanding Potato Freezing
Before you begin the freezing process, take a moment to learn about the characteristics of potatoes. Potatoes, which are primarily composed of water, are vegetables that have a high moisture content. The water in the cells expands when frozen, causing cell ruptures and textural changes after thawing. Proper preparation and storage are key to minimizing these unwanted effects.
Step 1: Selecting the Right Potatoes:
Not all varieties of potato are suitable for freezing. High-starch varieties like Yukon Golds and Russets tend to freeze better. These potatoes are lower in moisture, which helps to maintain their texture when freezing and thawing.
Step 2: Cleaning & Peeling:
Wash the potatoes thoroughly under running water, removing any dirt or debris. Peel potatoes with a vegetable peeler. Make sure to remove all eyes and blemishes. Peeling the potatoes is important to avoid the formation of bad flavors and maintain the integrity of frozen potatoes.
Step 3: Cut into desired:
After peeling, choose the shape you want for your potatoes. If you want to freeze and cook your potatoes evenly, make sure that the size is uniform. Cut the potatoes with a sharp knife, being careful to maintain consistency.
Step 4: Blanching:
Blanching the potatoes is an important step to preserve their color, texture and flavor. Bring a large pot to a rolling boil, then add the pieces of potato in batches. Small potato slices or cubes can be blanched for 3 to 5 minutes. Larger pieces will need 5-7 minutes. After blanching, transfer the potatoes immediately to an ice bath to stop the cooking process. This step will also prevent browning due to enzymatic reactions, so your potatoes will retain their vibrant colors.
Step 5: Draining & Drying:
Drain the potatoes well after blanching to remove any excess moisture. To minimize the formation of ice crystals during freezing, pat them dry using paper towels or clean kitchen towels. A surplus of moisture can cause freezer burn, which will eventually deteriorate your potatoes’ quality.
Step 6: Packaging for Freezing:
The packaging for freezing is important to maintain the quality and prevent freezer burn. Divide the blanched potatoes and dried potatoes in portions and place them into airtight containers or freezer bags. Reduce the risk of freezer damage by removing as much air from the packaging as possible. Label the containers to make it easy to identify.
Step 7: Freezing:
Place the potatoes in the refrigerator in one layer. This will help them freeze quickly. To maintain a constant temperature, avoid overcrowding your freezer. Ideal temperature for frozen potatoes is 0degF or lower.
Step 8: Thawing Frozen Potatoes and Using Them:
Remove the frozen potatoes from the freezer when you are ready to use them and let them thaw in the fridge overnight. Thawing potatoes at room temperature can cause uneven thawing, which could pose food safety issues. Once the potatoes have thawed they can be used for a variety of recipes including soups and stews. They can also be used to make mashed potatoes. The cooking time for frozen potatoes may be slightly different from that of fresh potatoes.
Conclusion:
Freezing potato is an easy way to keep them fresh and versatile for future use. Follow these simple guidelines to ensure your frozen potatoes retain their texture, flavor, and quality. You can freeze potatoes to use them all year round, whether you want to minimize food waste or stock up for harvest season. You can enjoy the taste of fresh potatoes at any time with the right preparation and storage methods.

