
Do you want to make large, dense clouds from your vaporizer for dry herbs, but you’re only getting thin, spherical clouds? There are many factors that can prevent you from making the clouds you want In the following article I’ll inform you about these issues.
Luckily, a lot times just a minor tweak will be all it takes to make your experience 10 times more enjoyable. A well-executed use of your vape’s herbal ingredients is crucial to enjoying smoking, and most times it’s trial and error that’s the best way to figure things out.
Let’s first establish the right expectations.
I’ll tell you that it isn’t going to be the kind of massive dense vapor clouds that found in vape mods or electronic cigarettes. Vapes that are made from herbal produce massive, not bulky vapour that quickly disperses. When you vape herbal it’s all about flavor and smell.
If you have all your goals set to the proper level, it’s now time to begin.
The best advice is to make use of a Top vaporizer. Without it none of these suggestions will be effective.
1. Get Your Herbs As Dry As Possible
It’s not difficult, right? They’re called dry herbal vapes, in essence, and the drier the herb is, the more vapor it will produce. Always choose the most dry herbs get from your local budtender, but in the event that they aren’t dry enough, you can make use of simple glass jars to make them more dehydrated.
To dry your herbs, put it in a glass jar and put tissue paper over the top and below your herb, and allow it to sit overnight. If there’s moisture present in the herb, it will get drawn into the paper. It is also possible to utilize moisture-absorbing bags that are available on Amazon to assist in the process.
2. Grind It Up
A grinder can be useful for a variety of reasons. One reason is that it allows you to smoke your cannabis more efficiently, by breaking it down that increases your surface.
The proper ground plant has lots of surface area that is exposed, making it possible for hot air to pass through it and collect volatile molecules like terpenes, as well as other terpenes. An abundance of surface area can allow your herb to “burn” evenly and will give you the best vapour. A high-quality Grinder is crucial to generating good, abundant and delicious inhalation.
My personal favorite can be found in that of the SLX grinder (Review | Buy). It also comes with an Ceramic coating, meaning that no matter what you do, it will not stick to. It is to be as good as new after one year of continuous use and zero cleaning. Also, if you’re using SLX or another, you can use the top grinders that grind your herb thoroughly and equally.
3. Pack the Perfect Oven
Many weed vapes include specific instructions for how much herb is put into the chamber. However, a general guideline is to use a large and a large oven. The reason for this is that dry herb vapes perform best when heated air can be able to pass through the herb and warm it equally.
Alongside having better vapor, you will also enjoy more flavor and power because you’ll be able to extract more active ingredients from the herb. Also, you will reduce the draw resistance meaning you don’t need draw as much on the mouthpiece.
In the event that you put too much herb in the chamber, it can reduce airflow. This means you’ll have to breathe harder in order to get the best vapor. will not get much smoke. The ideal oven is airy and even, exactly as the other items listed on this list. explore and discover what is the most effective way to use your vapor.
4. Turn Up The Heat
This suggestion could be based on the preferences of a particular vaper and may be subjective to certain. The higher your temperature the closer you’ll attain a similar experience to smoking and the more powerful the effects of the vapor.
Here’s the problem. The higher the temperature you set the more flavor will diminish and the more harsh the vapor will be. Try it out and discover the right balance between flavor and the production of vapor.
I begin my sessions at around 380degF, and gradually increase it to 390degF toward the end. It’s great to begin with a low temperature and enjoy that fresh smell and then increase until you achieve the maximum effect.
If you’re looking for bigger clouds that you’re after and you’ll need to increase the temperature above recommended temperature, but take into consideration that you’ll never get the most flavorful marijuana.
5. Use The Right Inhaling Technique
Long, slow draws allow you get more the vapor, however the duration of draw differs for every vape. Therefore, it is important to experiment with your vaporizer to determine the duration of draw that is most suitable for you.
A majority of vaporizers perform better when you’sip instead of ripping the vaporizer. That means that you draw slowly in an orderly manner, and then take a deep breath into. Slow, long inhalations help you get more out of the vapour. This is difficult to explain as it differs from one vape to the next.
Whatever product you are using it’s going to require a few draws before you be comfortable with it. In general, I recommend drawing for a period of 6 to 10 seconds, then using an inhale that is full and controlled. You can alter your speed as well as intensity until you achieve the ideal draw.
If drawing is difficult then you might have overpacked your oven. Take a few pieces of material, then loosen up/fluff the remainder. It’s all about practice, so try it out and then analyze the outcomes.
Every vape has its own draw-resistance (the degree of resistance that you feel when taking the draw) and so the inhale-paste will vary based on the specific vape you’re using.
6. Keep your home clean regularly
Higher Standards makes cleaning products specifically for vapes. They offer a kit for $30 that includes everything you require to keep your vapor in top condition.
I highly suggest cleaning your vape as soon as you can following a session. Cleansing your vape is similar to washing dishes- it’s simple if you clean it immediately however if you put it off the tar will begin to dry out and become more difficult to clean. It melts when heated, so take care to clean your oven immediately after you’ve finished your session, while your oven is still warm.
The oven should be cleaned after each cooking session. Use a small brush to get rid of any herb that was used, if required.
Every 8-15 times remove the vape and wash off all traces and obstructions. The majority of vaporizers can be cleaned using ISO alcohol, or with Q-Tips submerged into ISO alcohol. Do not immerse your entire vaporizer into ISO alcohol.
They are made in such a manner it is only the mouthpiece part which gets dirty. Mouthpieces aren’t expensive and are easily replaced and make these two vapes virtually maintenance-free.
7. Let Your Vape Sit For a While
Another great thing to use when using the above technique is to allow about twenty or thirty seconds before you begin inhaling once the vape reaches the temperature you have selected. If you are inhaling during an entire session, you may take ten to thirty minutes between draw.
The reason you should wait regardless of the reason it is because heat builds up within the oven. If you pair this with the draw method described above it will dramatically increase the amount of the vapor that you create.
Final Thoughts
As I said at the beginning of this article Dry herb vaporizers do not produce vapor similar to smoke or vapes. The man who was at the bar blowing massive clouds wasn’t using dry herb vaporizer. He was using the vape mod. Herbal vapes are very flavorful and aromatic vapor, however it’s not thick.
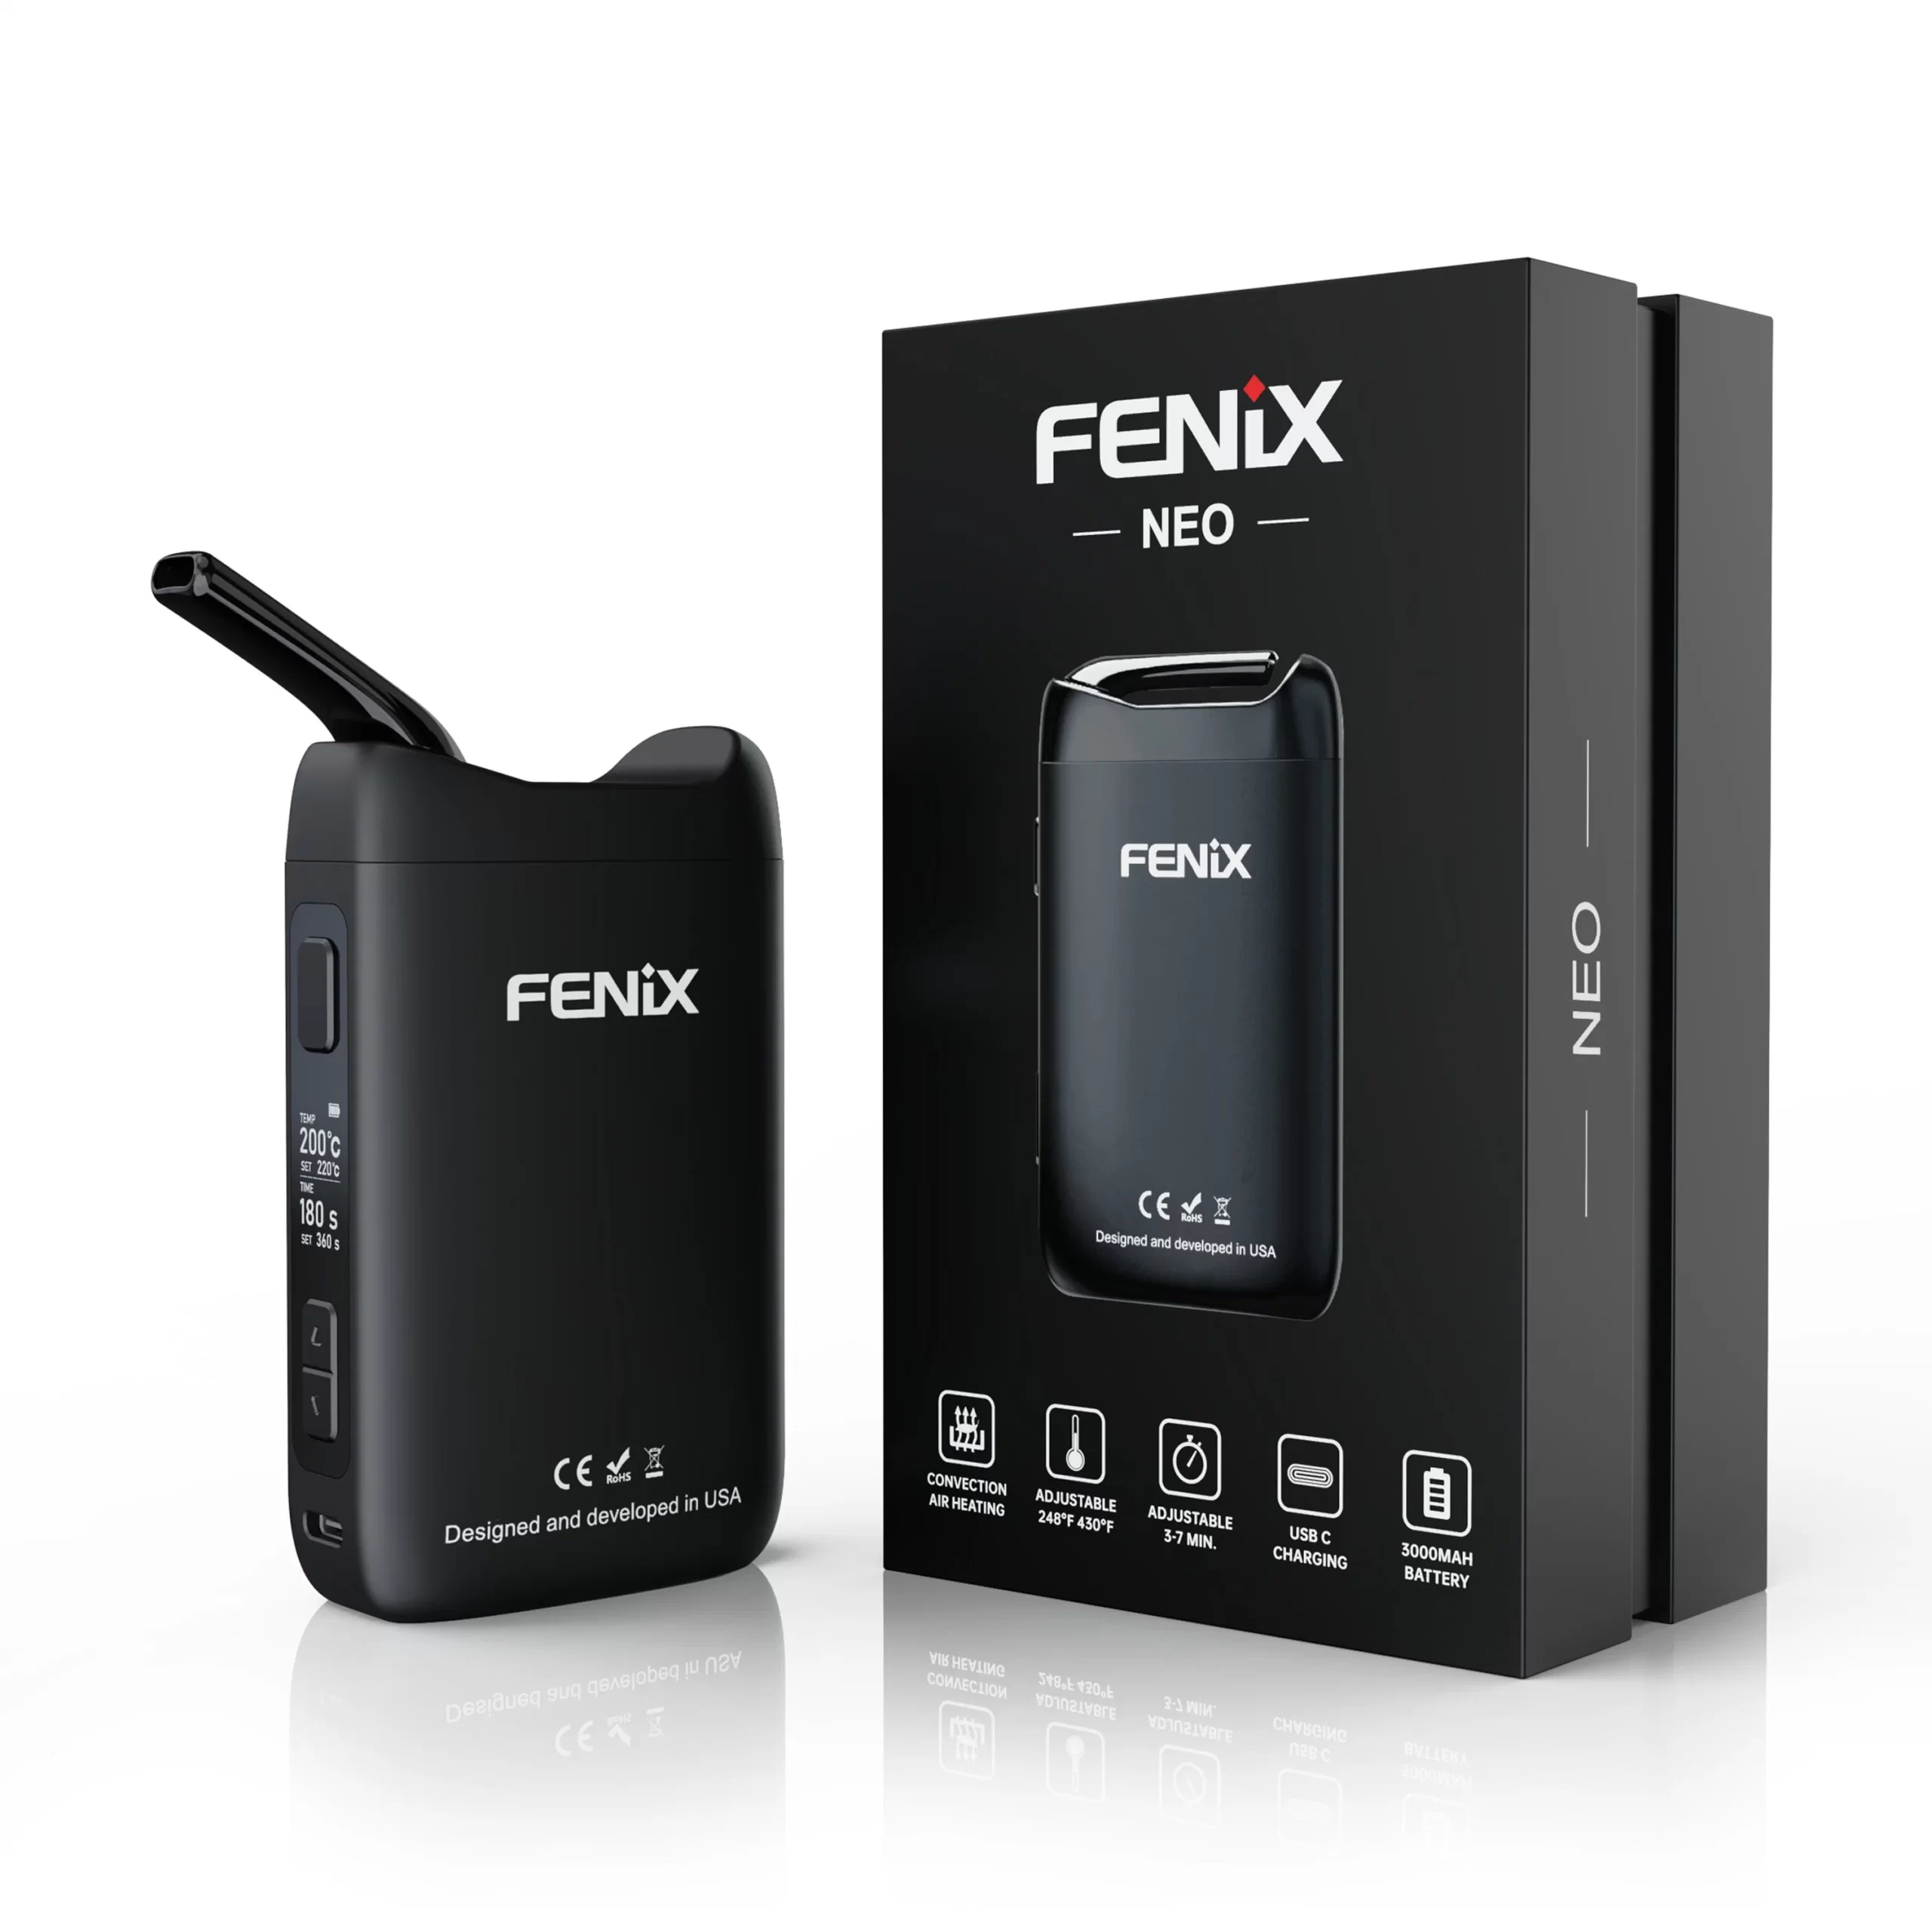
These tips can help you increase the vapor output of the vaporizer for dry herbs and can improve the production of vapor as well as flavor. It will also reduce draw resistance. For info- FENiX NEO Full Convection Dry Herb Vaporizer